This article explains how to generate tokens for the 1st time while getting started with Xoxoday APIs.
All requests to the Xoxoday must be authenticated.
Xoxoday uses bearer authentication, where each request must include an HTTP header that includes your Client ID, Secret ID, and Access Token. The following guide explains how to generate your client ID, secret ID, and access tokens from the admin portal.
Generating Client ID & Secret Key
1st Method (Recommended)
The OAuth method of generating a token is highly recommended for this approach as it ensures that the token cannot be obtained by logging in to the dashboard
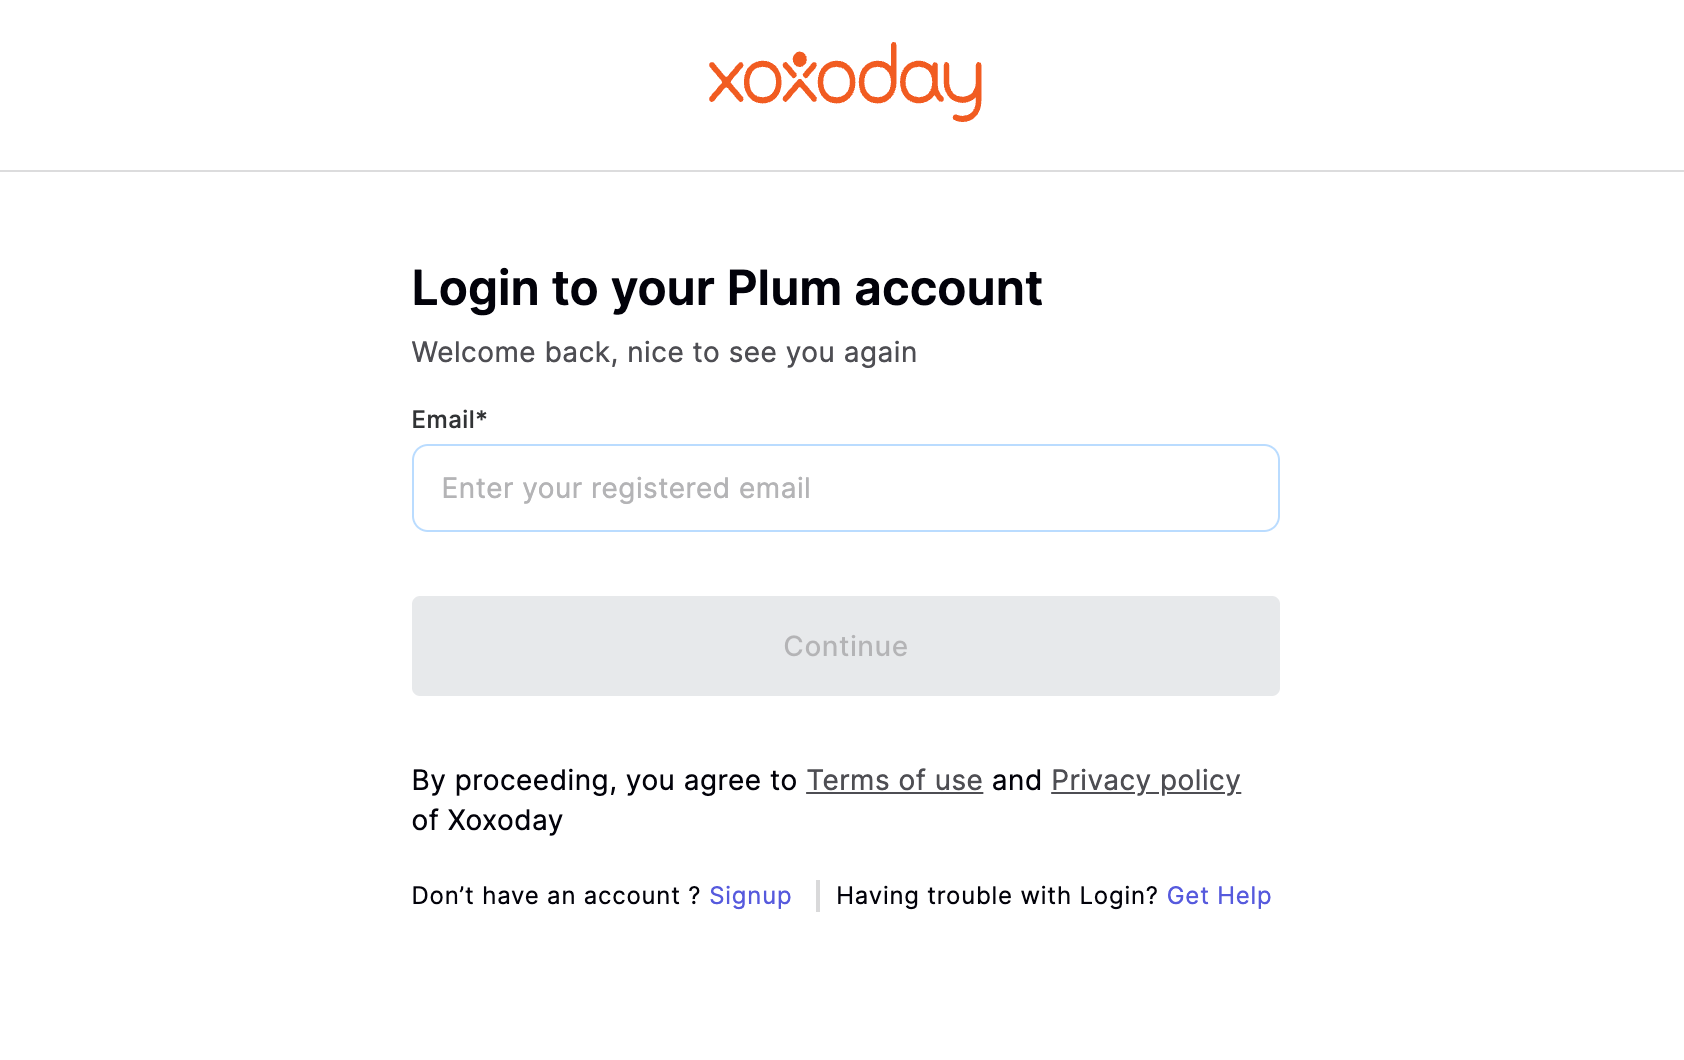
Log in to your Xoxoday Account
Step 2: Generate Client ID
In the next step, Click the "Settings" tab from the header and select "API" on the left panel. And select 'Storefront Integration' tab as seen below 👇
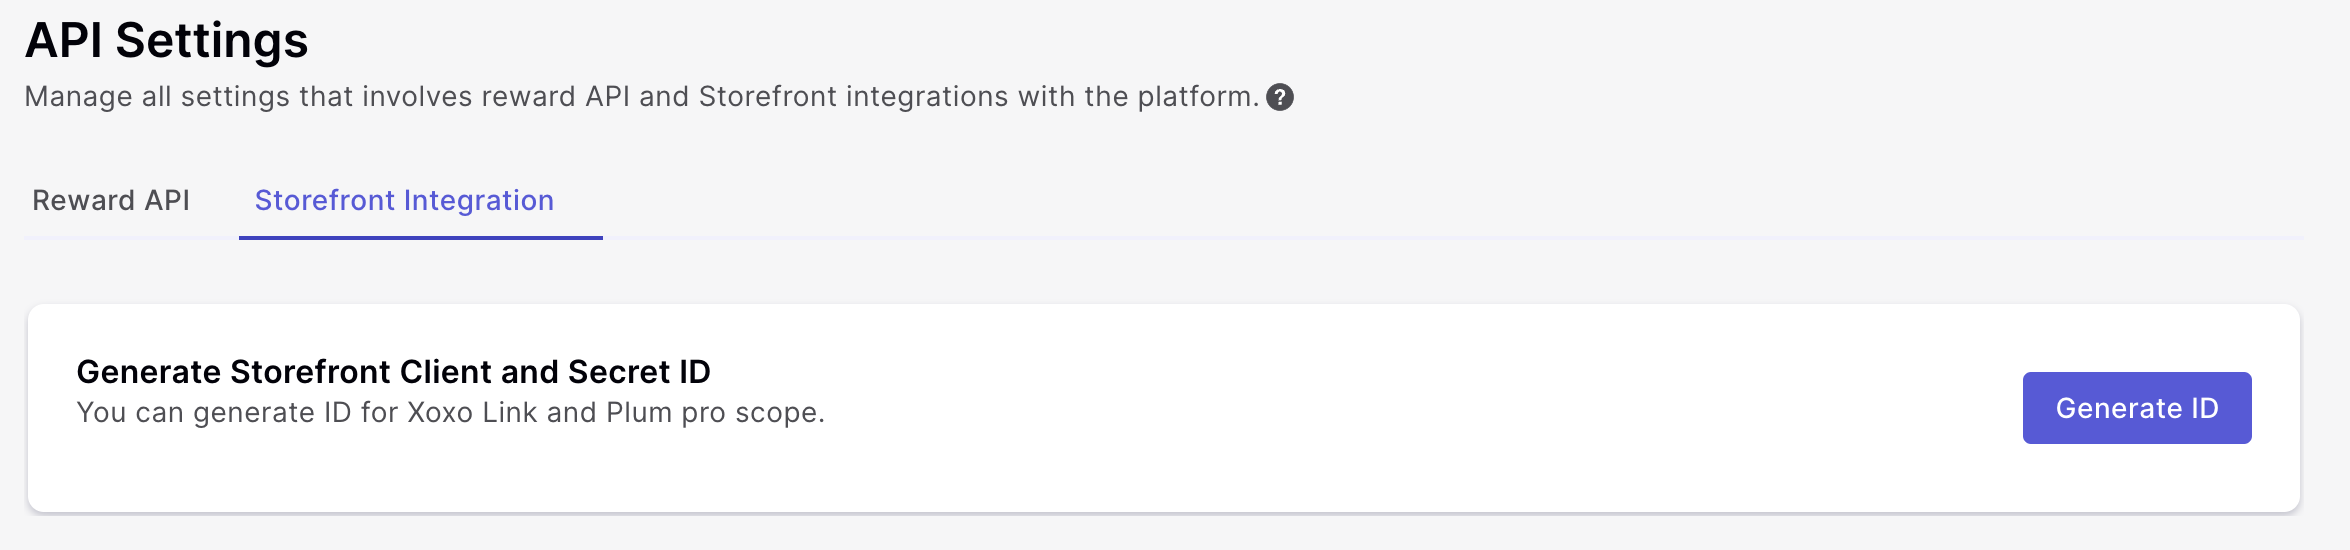
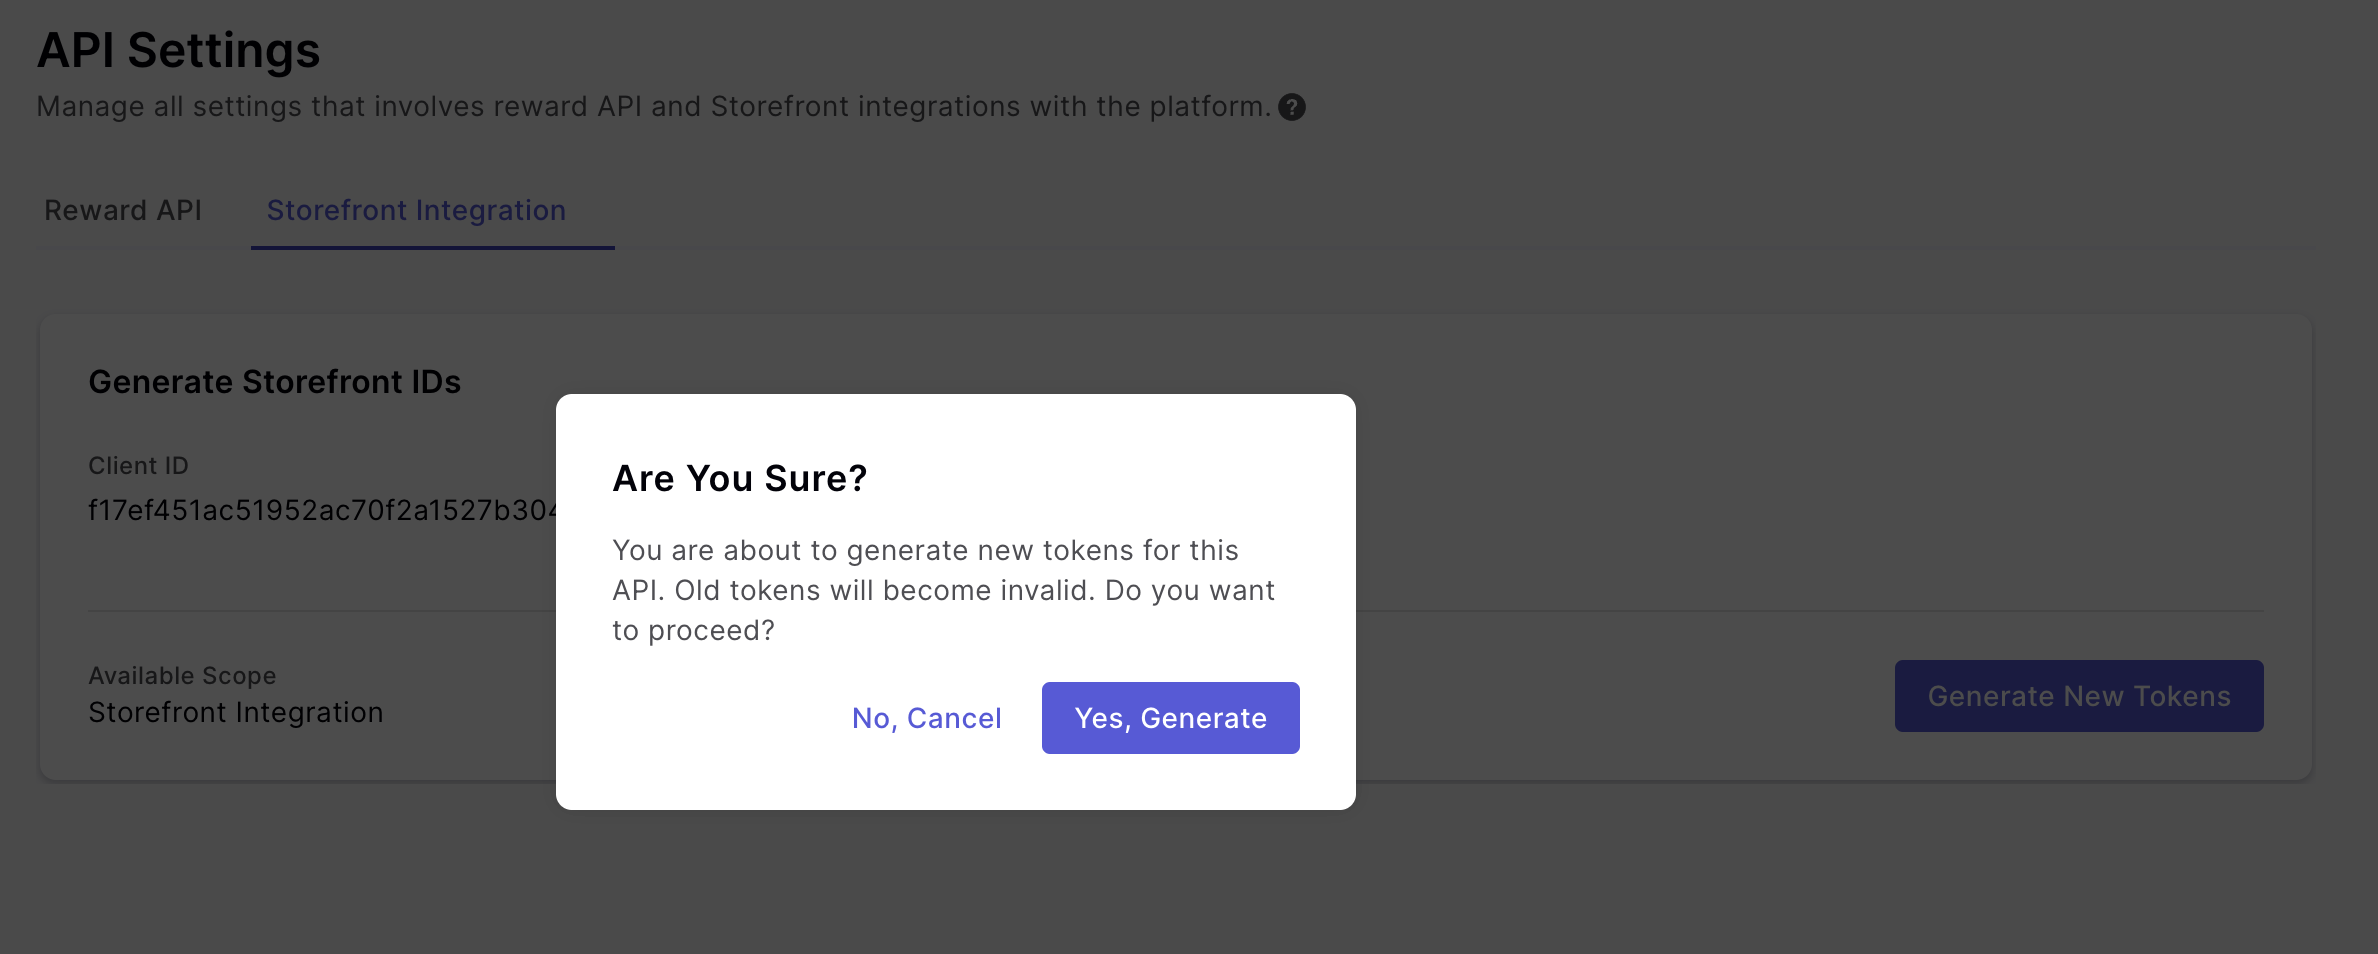
Click on the "Generate ID" button. A pop-up will appear asking to confirm.
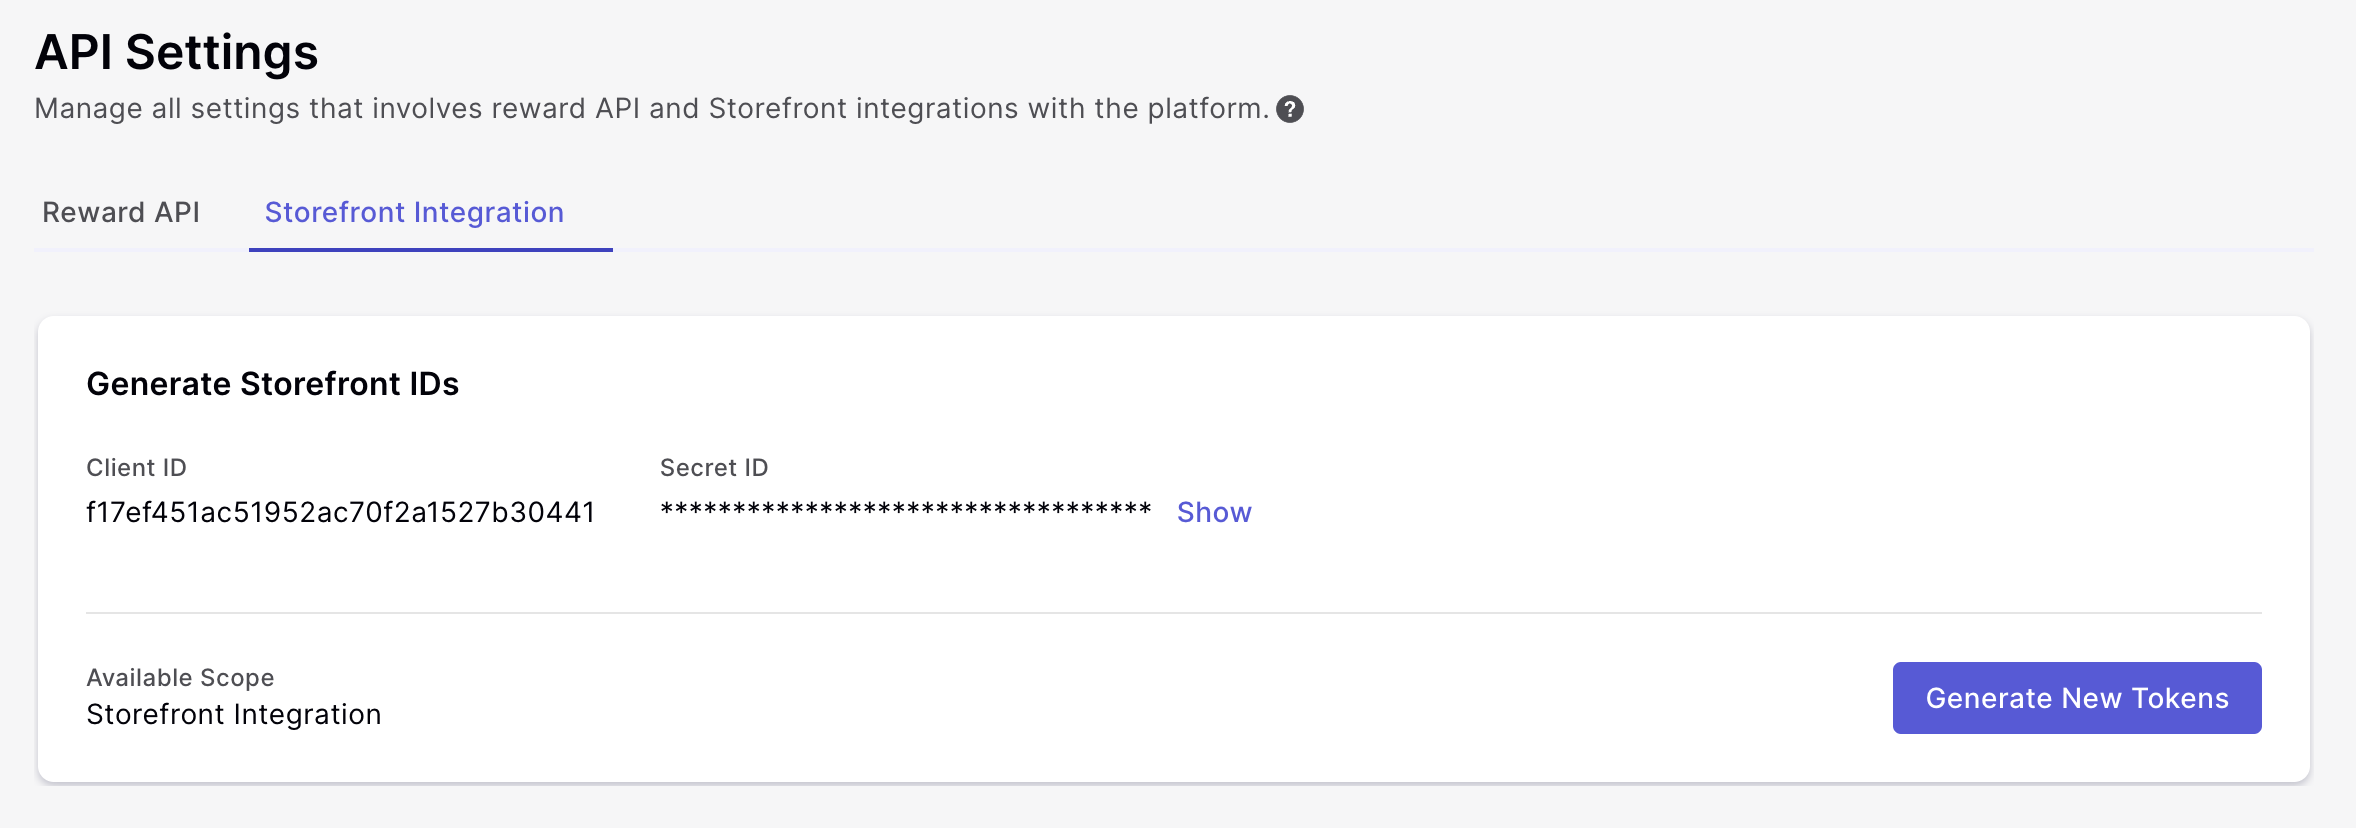
You will now be able to find Client ID and Secret ID on the dashboard as shown above.
Generating Access Token and Refresh Token
This is the first request in the OAuth process when the client requests for authorization code by redirecting to the following URL:
https://{oauthURL}/v1/oauth/authorize?client_id=f17f451ac51952ac70f2a1527xxxxxx&response_type=code&redirect_uri=client_redirect_url&scope=user_session&state=client_state
Staging OAuth URL - https://stagingaccount.xoxoday.com/chef
Production OAuth URL - <https://accounts.xoxoday.com/chef>
After entering the URL, it will prompt you to enter your password
After entering your credentials, you will be asked to authenticate the session to generate a temporary authorization code:
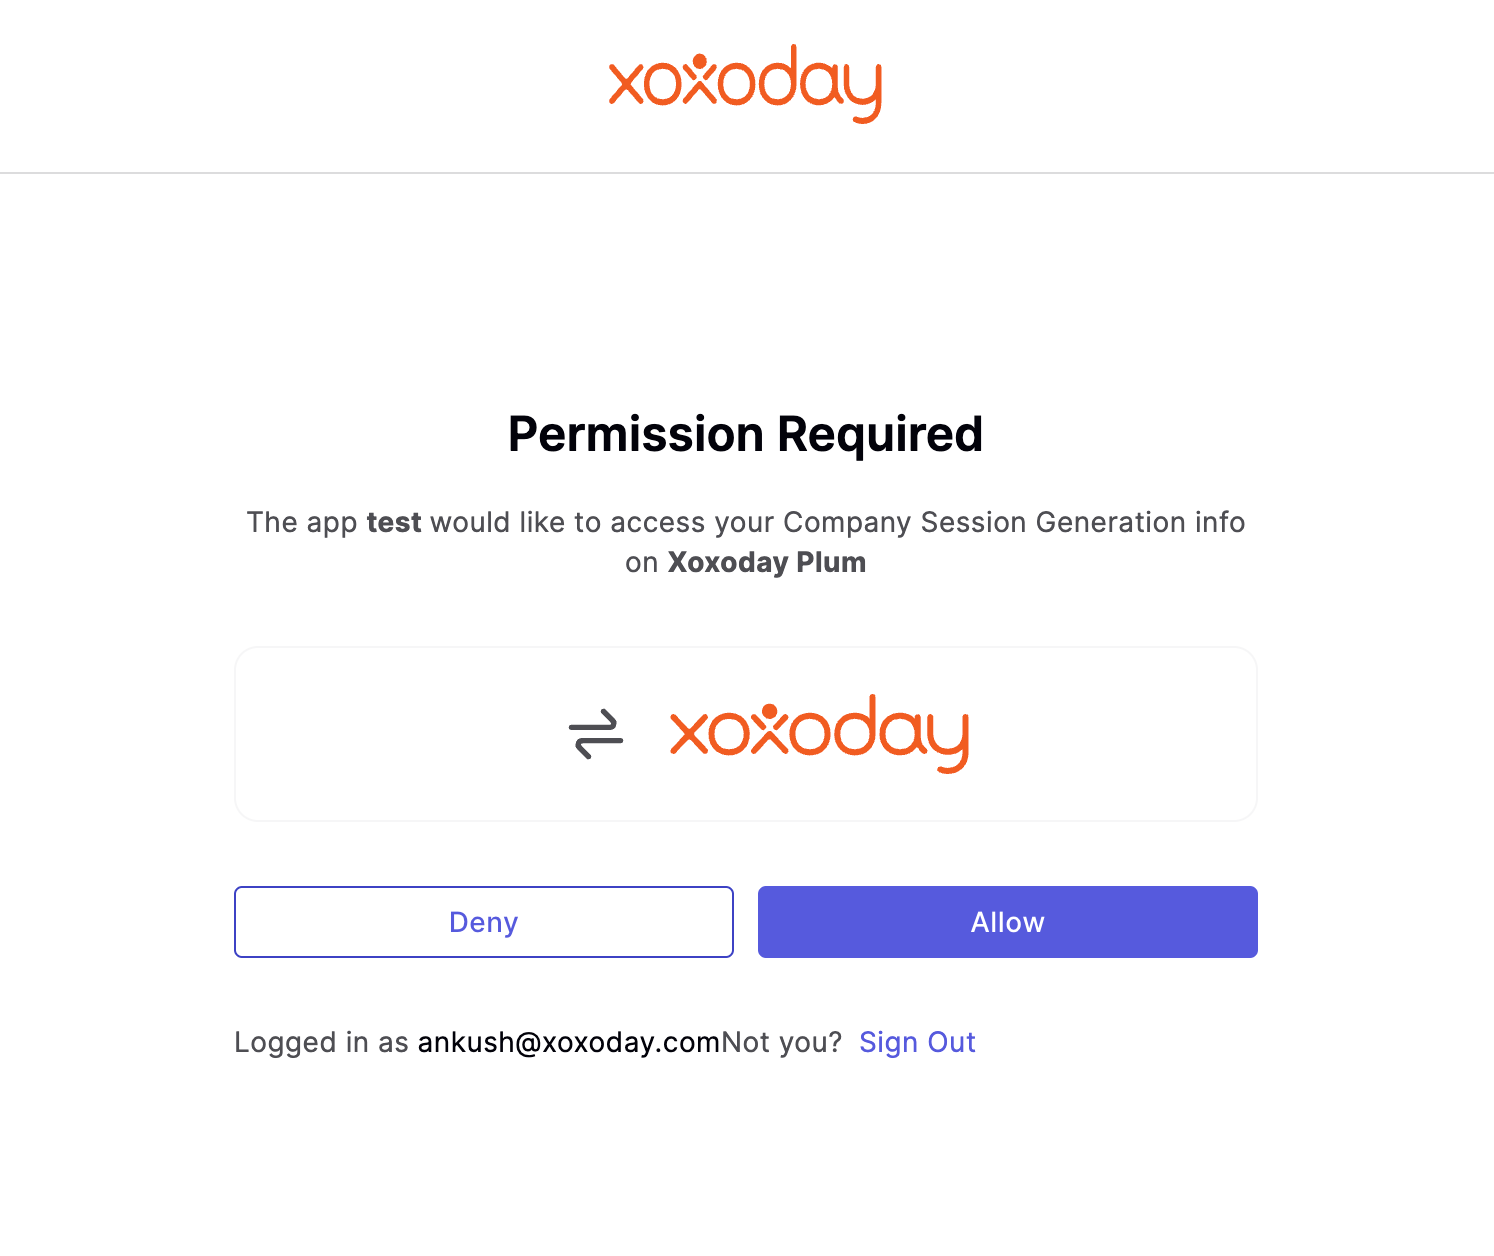
Once you click allow, the URL would contain the authorization code:

The authorization code is only valid for 5 minutes. Please generate an access and a refresh token using the authorization code within the specified limit
Once you have the authorization code, you can make the following call to get the Access and the Refresh Token:
curl -X POST {OAUTH_URL}/v1/oauth/token/company
-d '{
	"grant_type":"authorization_code",
	"code":"exxxx69660xxxxa6413c17d897xxxxx99",
	"redirect_uri":"{client_redirect_url}",
	"client_id":"{client_id}",
	"client_secret":"{client_secret}"
}
The response would look like this:
{
    "access_token": "exxxb2tlbkNvbnRlbnQiOnsiaXNzdWVkRm9yIjoidGVzdCIsInNjb3BlIjoiIiwiaXNzdWVkQXQiOjE2ODk2NzMzMDcwOTIsImV4cGlyZXNBdCI6IjIwMjMtMDgtMTdUMDk6NDE6NDcuMDkyWiIsInRva2VuX3R5cGUiOiJDT01QQU5ZIn0sImFfdCI6IjM4YjI1ZDFlNzg1ZTQ2Y2YwYmE4ZjhiYzU0YTNjMTZiZWRhZmM5MmIifQ==",
    "token_type": "bearer",
    "expires_in": 2592000,
    "refresh_token": "3ecc3cfc35c624978b87dd6735bd1dab2727xxx4",
    "access_token_expiry": 1692265307092,
    "refresh_token_expiry": 1694857307092,
    "email": "[email protected]"
}
Staging OAuth URL - https://stagingaccount.xoxoday.com/chef
Production OAuth URL - https://accounts.xoxoday.com/chef
2nd Method
Log in to your Xoxoday Account
Step 2: Generate Client ID
In the next step, Click the "Settings" tab from the header and select "API" on the left panel. And select 'Storefront Integration' tab as seen below 👇
Click on the "Generate ID" button. A pop-up will appear asking to confirm.
You will now be able to find Client ID and Secret ID on the dashboard as shown above.
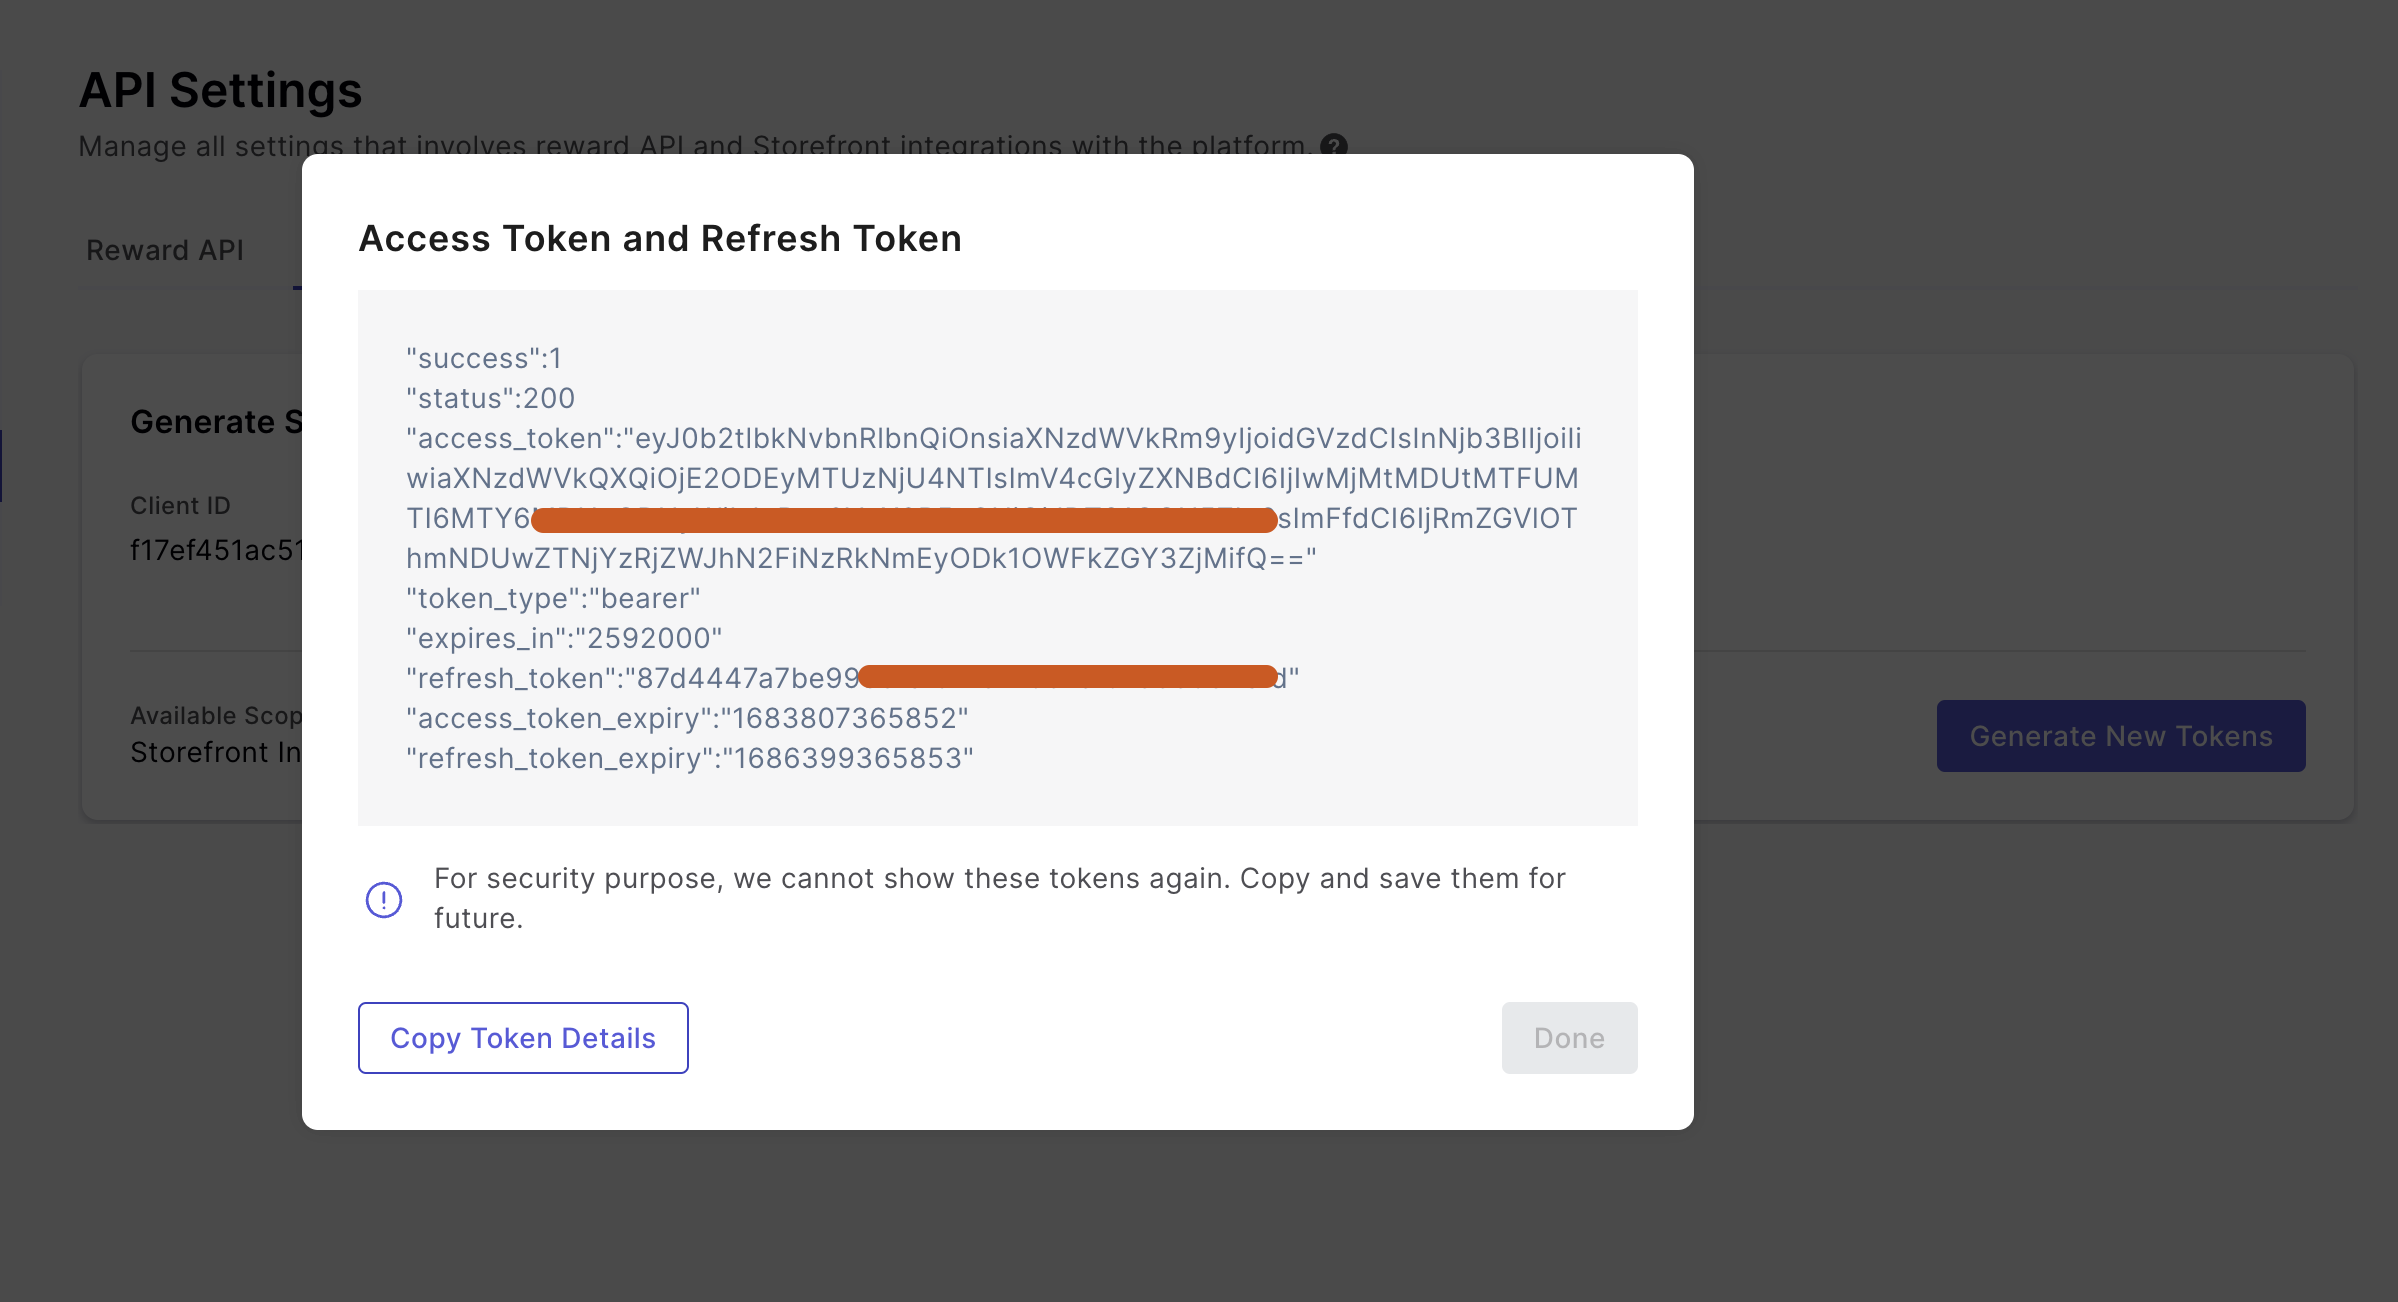
Step 3: Generating Access & Refresh token
Now you have the client id and secret key, you can generate both the access and refresh token by clicking on the "Generate Token" button.
Copy the token and manage them programmatically.