Email based Reward Automation
Now you can reward your prospects, contacts, and leads directly via email marketing campaigns (without any workflow-based triggers in HubSpot). Just select the contact 'List' from HubSpot.
In a few simple clicks, you can set up a reward automation campaign in plum and use the reward-enriched contacts to send emails with your own template from HubSpot. Not just that, the email recipient (contacts, prospects, or leads) can choose gift cards of their choice from Xoxoday’s extensive global catalog.
You can also restrict the number of rewards sent out based on criteria like - campaign time range, Maximum Reward count as well as repeated rewards, etc.
Follow the step to step guide to make your first rewarding automation for email recipients.
Skip Section 1 if you have already integrated Xoxoday Plum with HubSpot
Section I: Sync up your HubSpot with plum
Step 1: Connect your Xoxoday plum to HubSpot.

Step 2: Go to App Marketplace and search for Xoxoday plum.
Now, click on the app marketplace by clicking on the shop icon on the right top corner of your dashboard.
Step 3: Click on the Install app
Search for Xoxoday Plum in the app marketplace, and click on the “Install” button.
Step 4: Signup or Sign In on Plum
If you are new to Xoxoday Plum, click on the “Signup” button. You can learn how to set up a Plum account here. It's recommended that you use the email registered with HubSpot to signup with Plum as well.**If you are an existing user, use your xoxoday credentials to log in to the admin dashboard.**
Congrats, you have successfully installed the application.
Section II: Create Reward Automation in Plum]
Step 1: Setting up the Reward Automation.
Once the Xoxoday Plum Rewards App is downloaded, follow the steps given below and hook Xoxoday Plum up to your Hubspot CRM.
These are for the Admins operating the HubSpot CRM dashboard.
Please ensure that you follow the steps on the dashboard to create the reward automation and recharge your account.

Step 2: Choose to Automate your first reward.
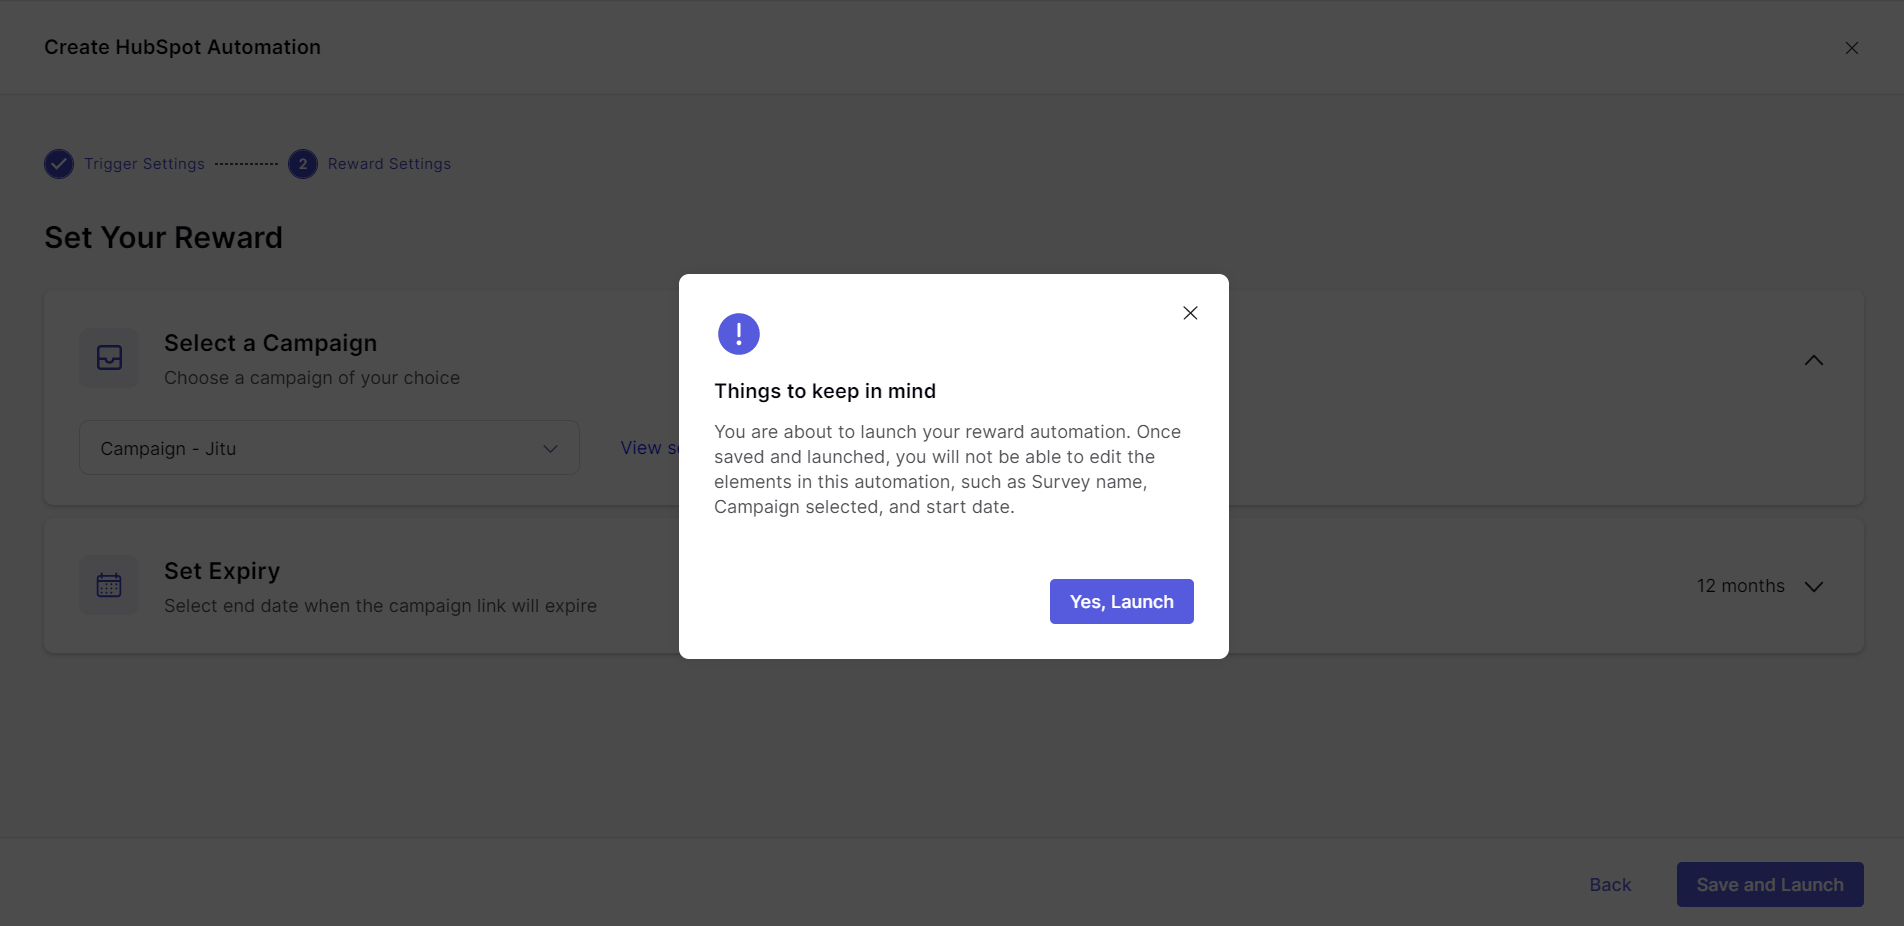
Once you choose ‘automate your first reward’ from the dashboard you will be shown a pop-up with the option to choose a type of reward automation. You need to choose “email-based reward automation” Existing plum admins can go to their HubSpot integration and click on ‘create new automation’ and they will also be presented with the same automation selection pop-up.
Step 3: Enter Reward Automation Name and Choose Contact list.
On the automation first step enter the reward automation name which you will be using during the email template creation to embed the reward link in HubSpot. Choose the contact list from HubSpot which will be fetched to enrich the contacts with reward links.
Once selected, you can click on proceed to move to the next step

Step 4: Create or select the Xoxolink campaign.
As a first-time user, you have to create a Xoxolink campaign from where the rewards will actually flow.
Perform the following actions to set up your Xoxolink campaign: Enter Campaign Name, Set Link expiry date, Select the country and denomination as per your choice. For existing users, you can select the existing Xoxolink campaign or choose to create a new one.


Step 5: Let the contact enrichment complete on plum.
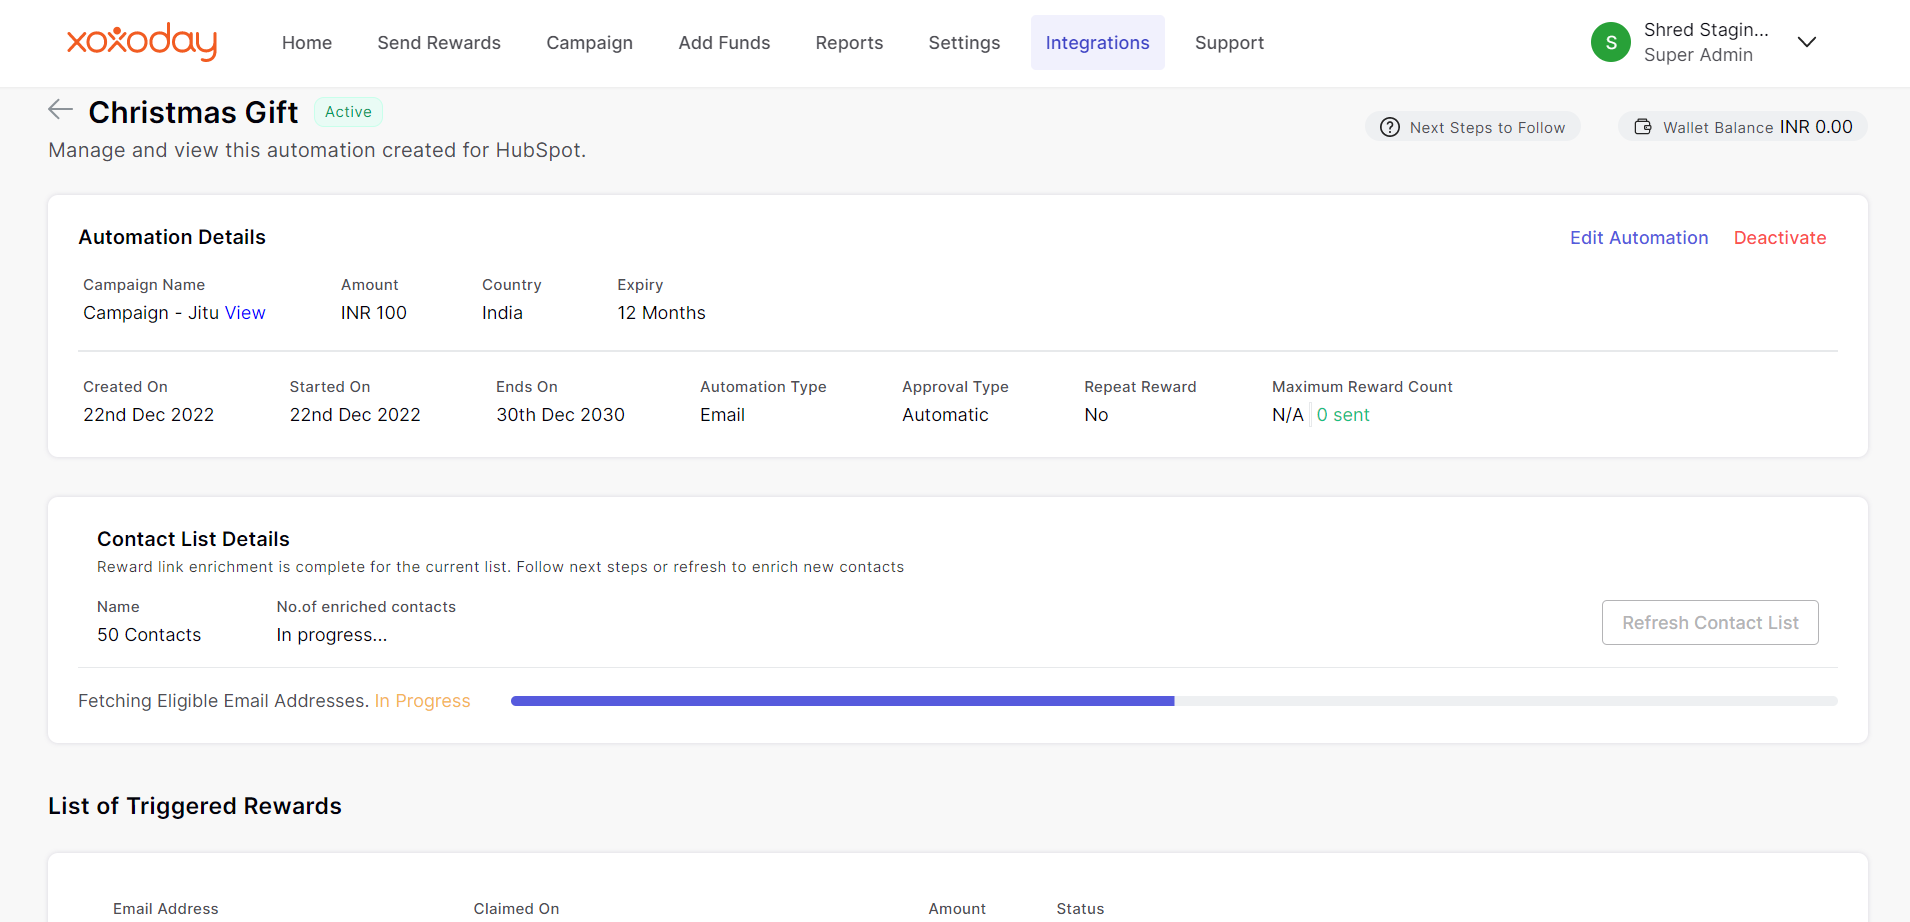
Once you launch the reward automation, then you will be redirected to the reward report page where you could see how the contact enrichment is progressing. (The time taken to complete the enrichment is relative to the number of contacts you have in the contact list). Once the enrichment is complete, follow the below-mentioned steps in HubSpot to generate and send emails with a reward link embedded into them.


Updated about 2 years ago
