Payment Methods
Here you'll learn about different ways to fund your Xoxoday account.
Fund addition for Global Accounts:
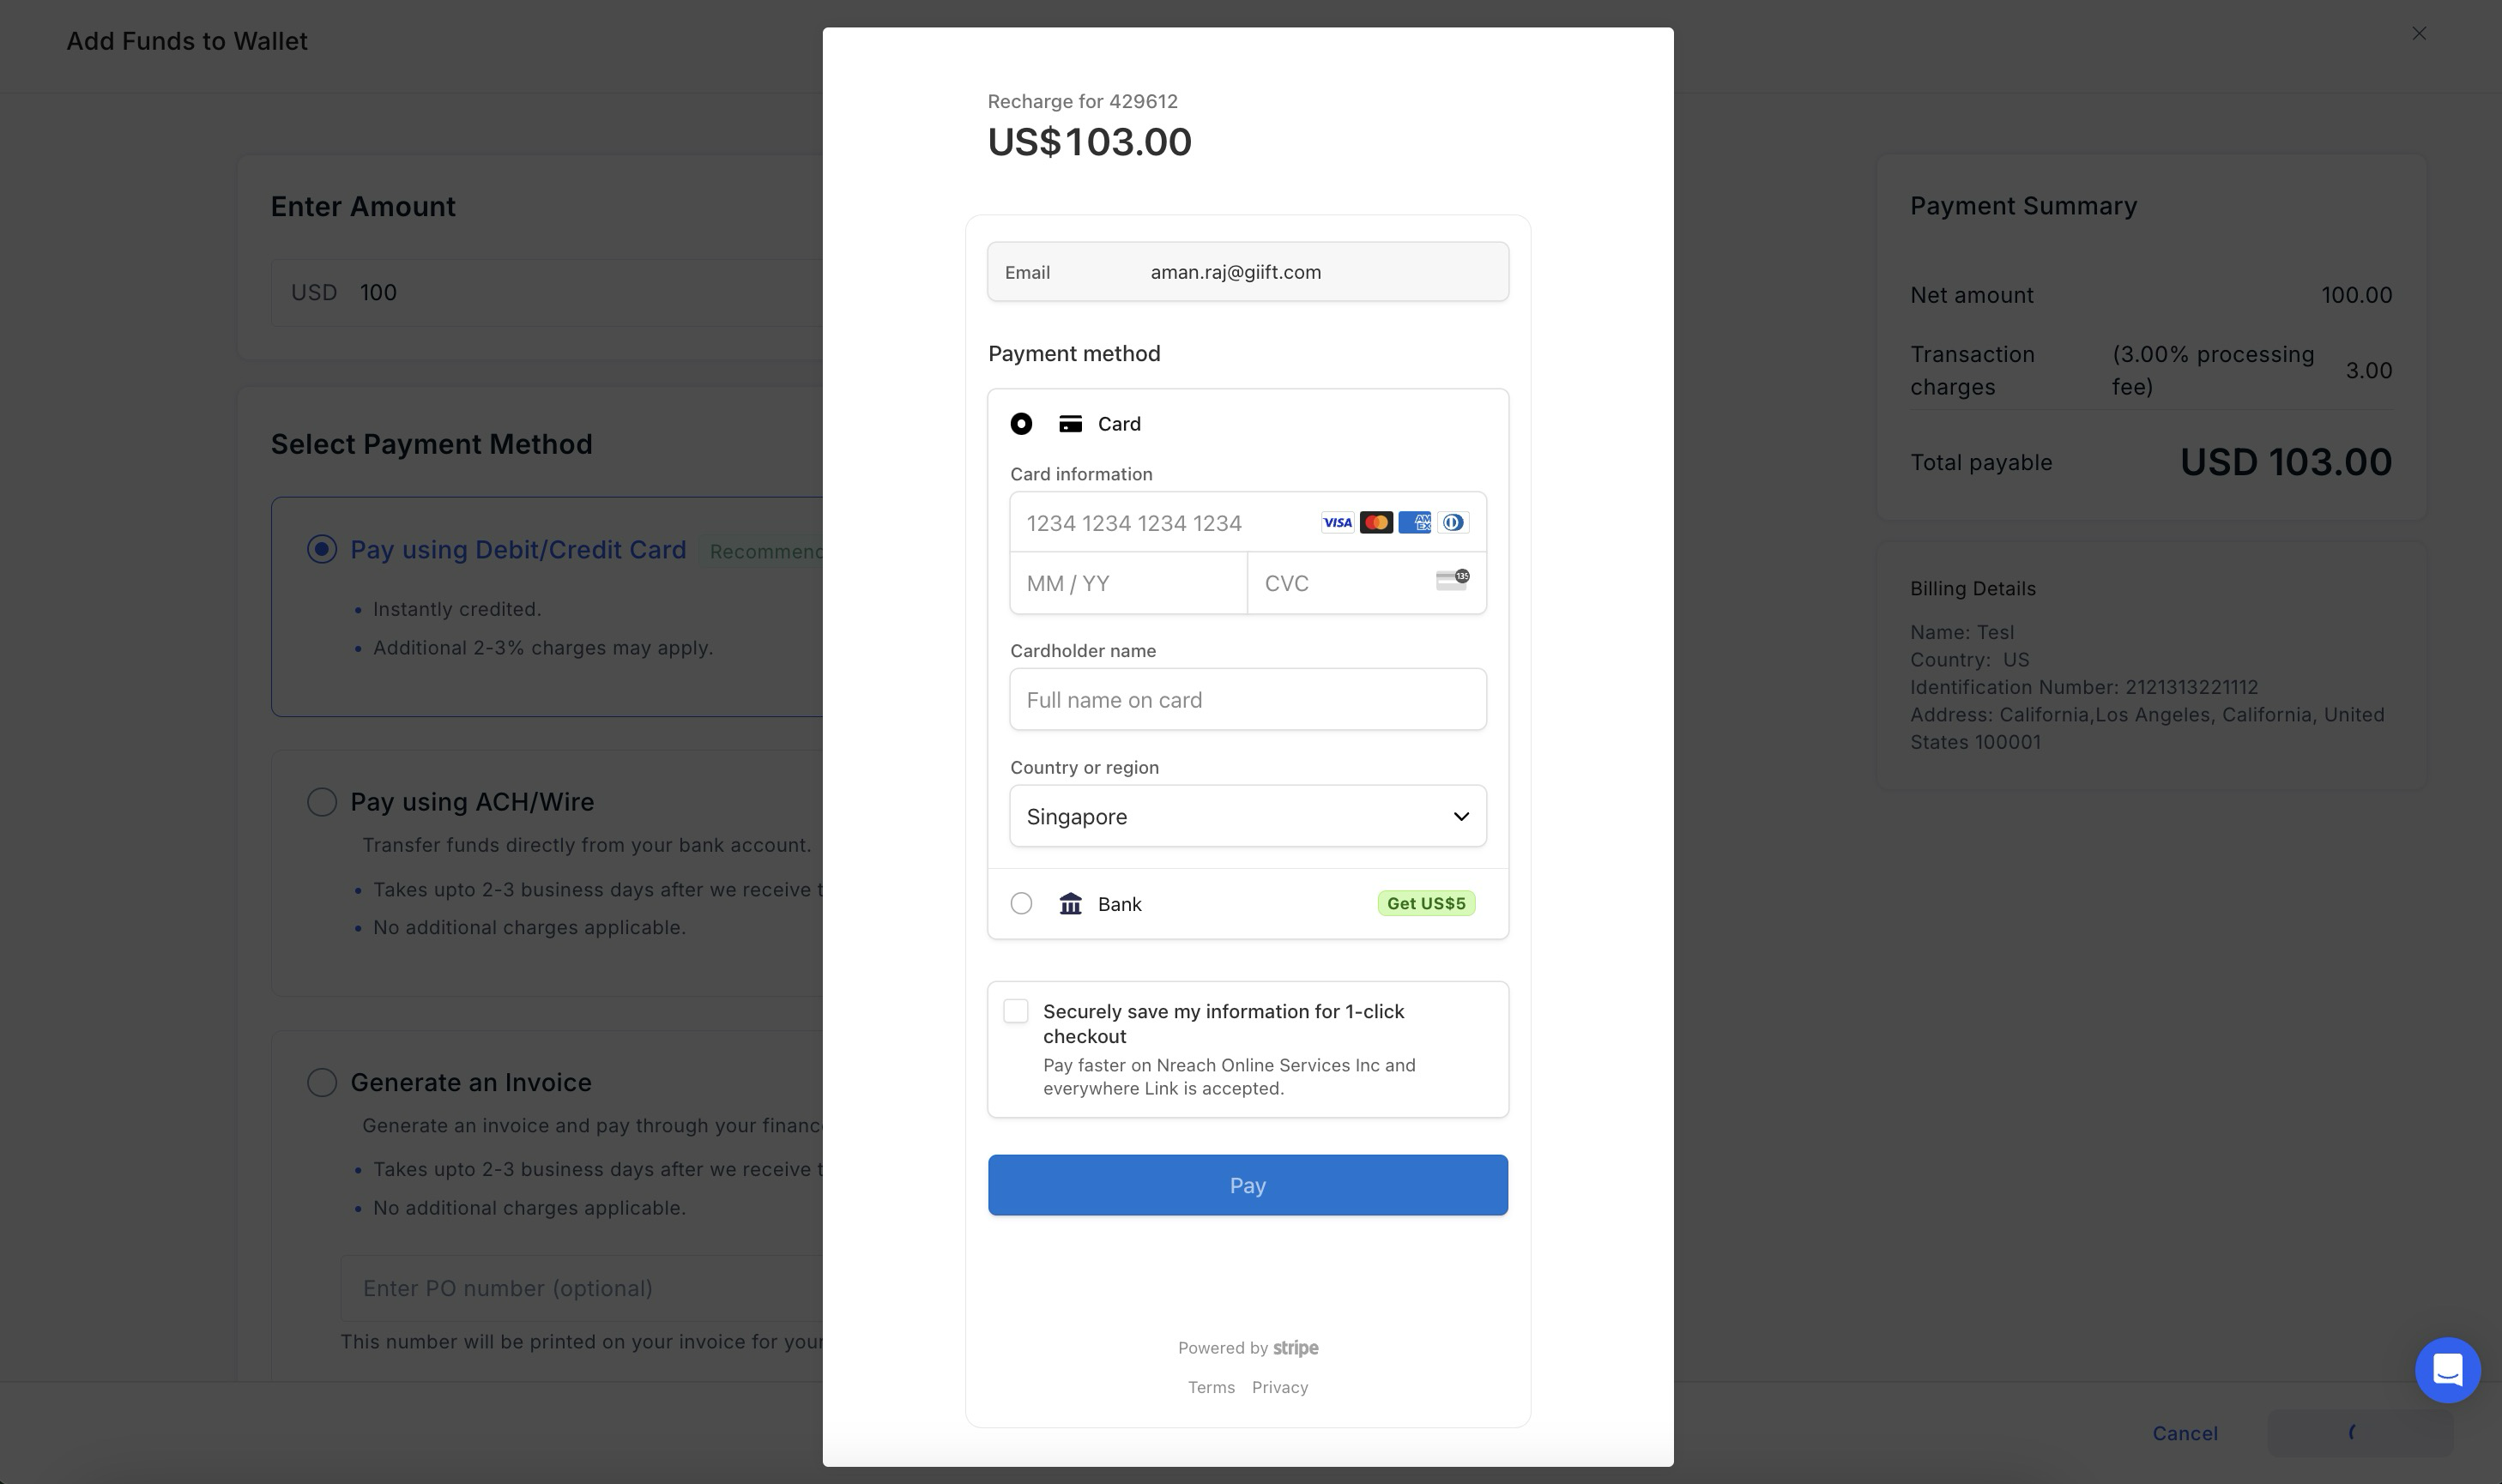
Xoxoday supports multiple ways for you to fund your account. Below is a list of a few, please select as applicable:
- Online Payment Methods using Credit Card & Debit Card.
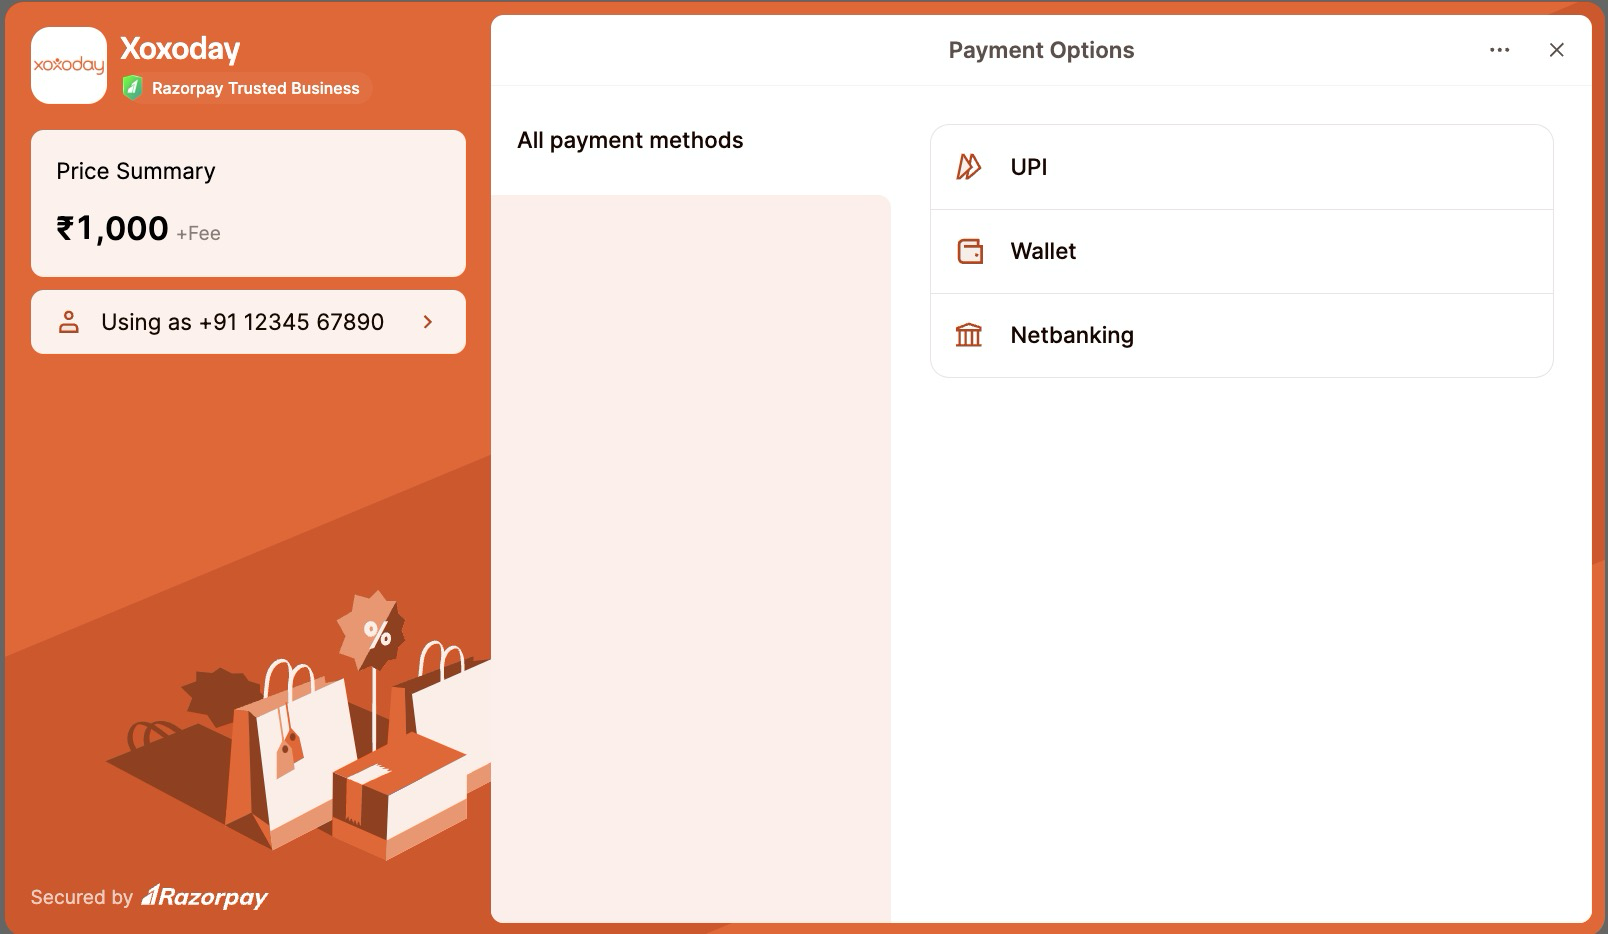
Fund addition for INR Accounts:
- Online options available - UPI, Credit/Debit Card, Net banking, e-Wallets
ACH / Domestic Wire Payment Option for USD accounts
To initiate ACH / Domestic Wire transactions, follow these steps
-
Log in to your Plum Admin Account.
-
Access the Payments Section in the dashboard.
-
Click on "Add Funds to Wallet" within the "Company Wallet" section.
-
Input the desired amount in your base currency and select the "Pay using ACH/Wire " option
.
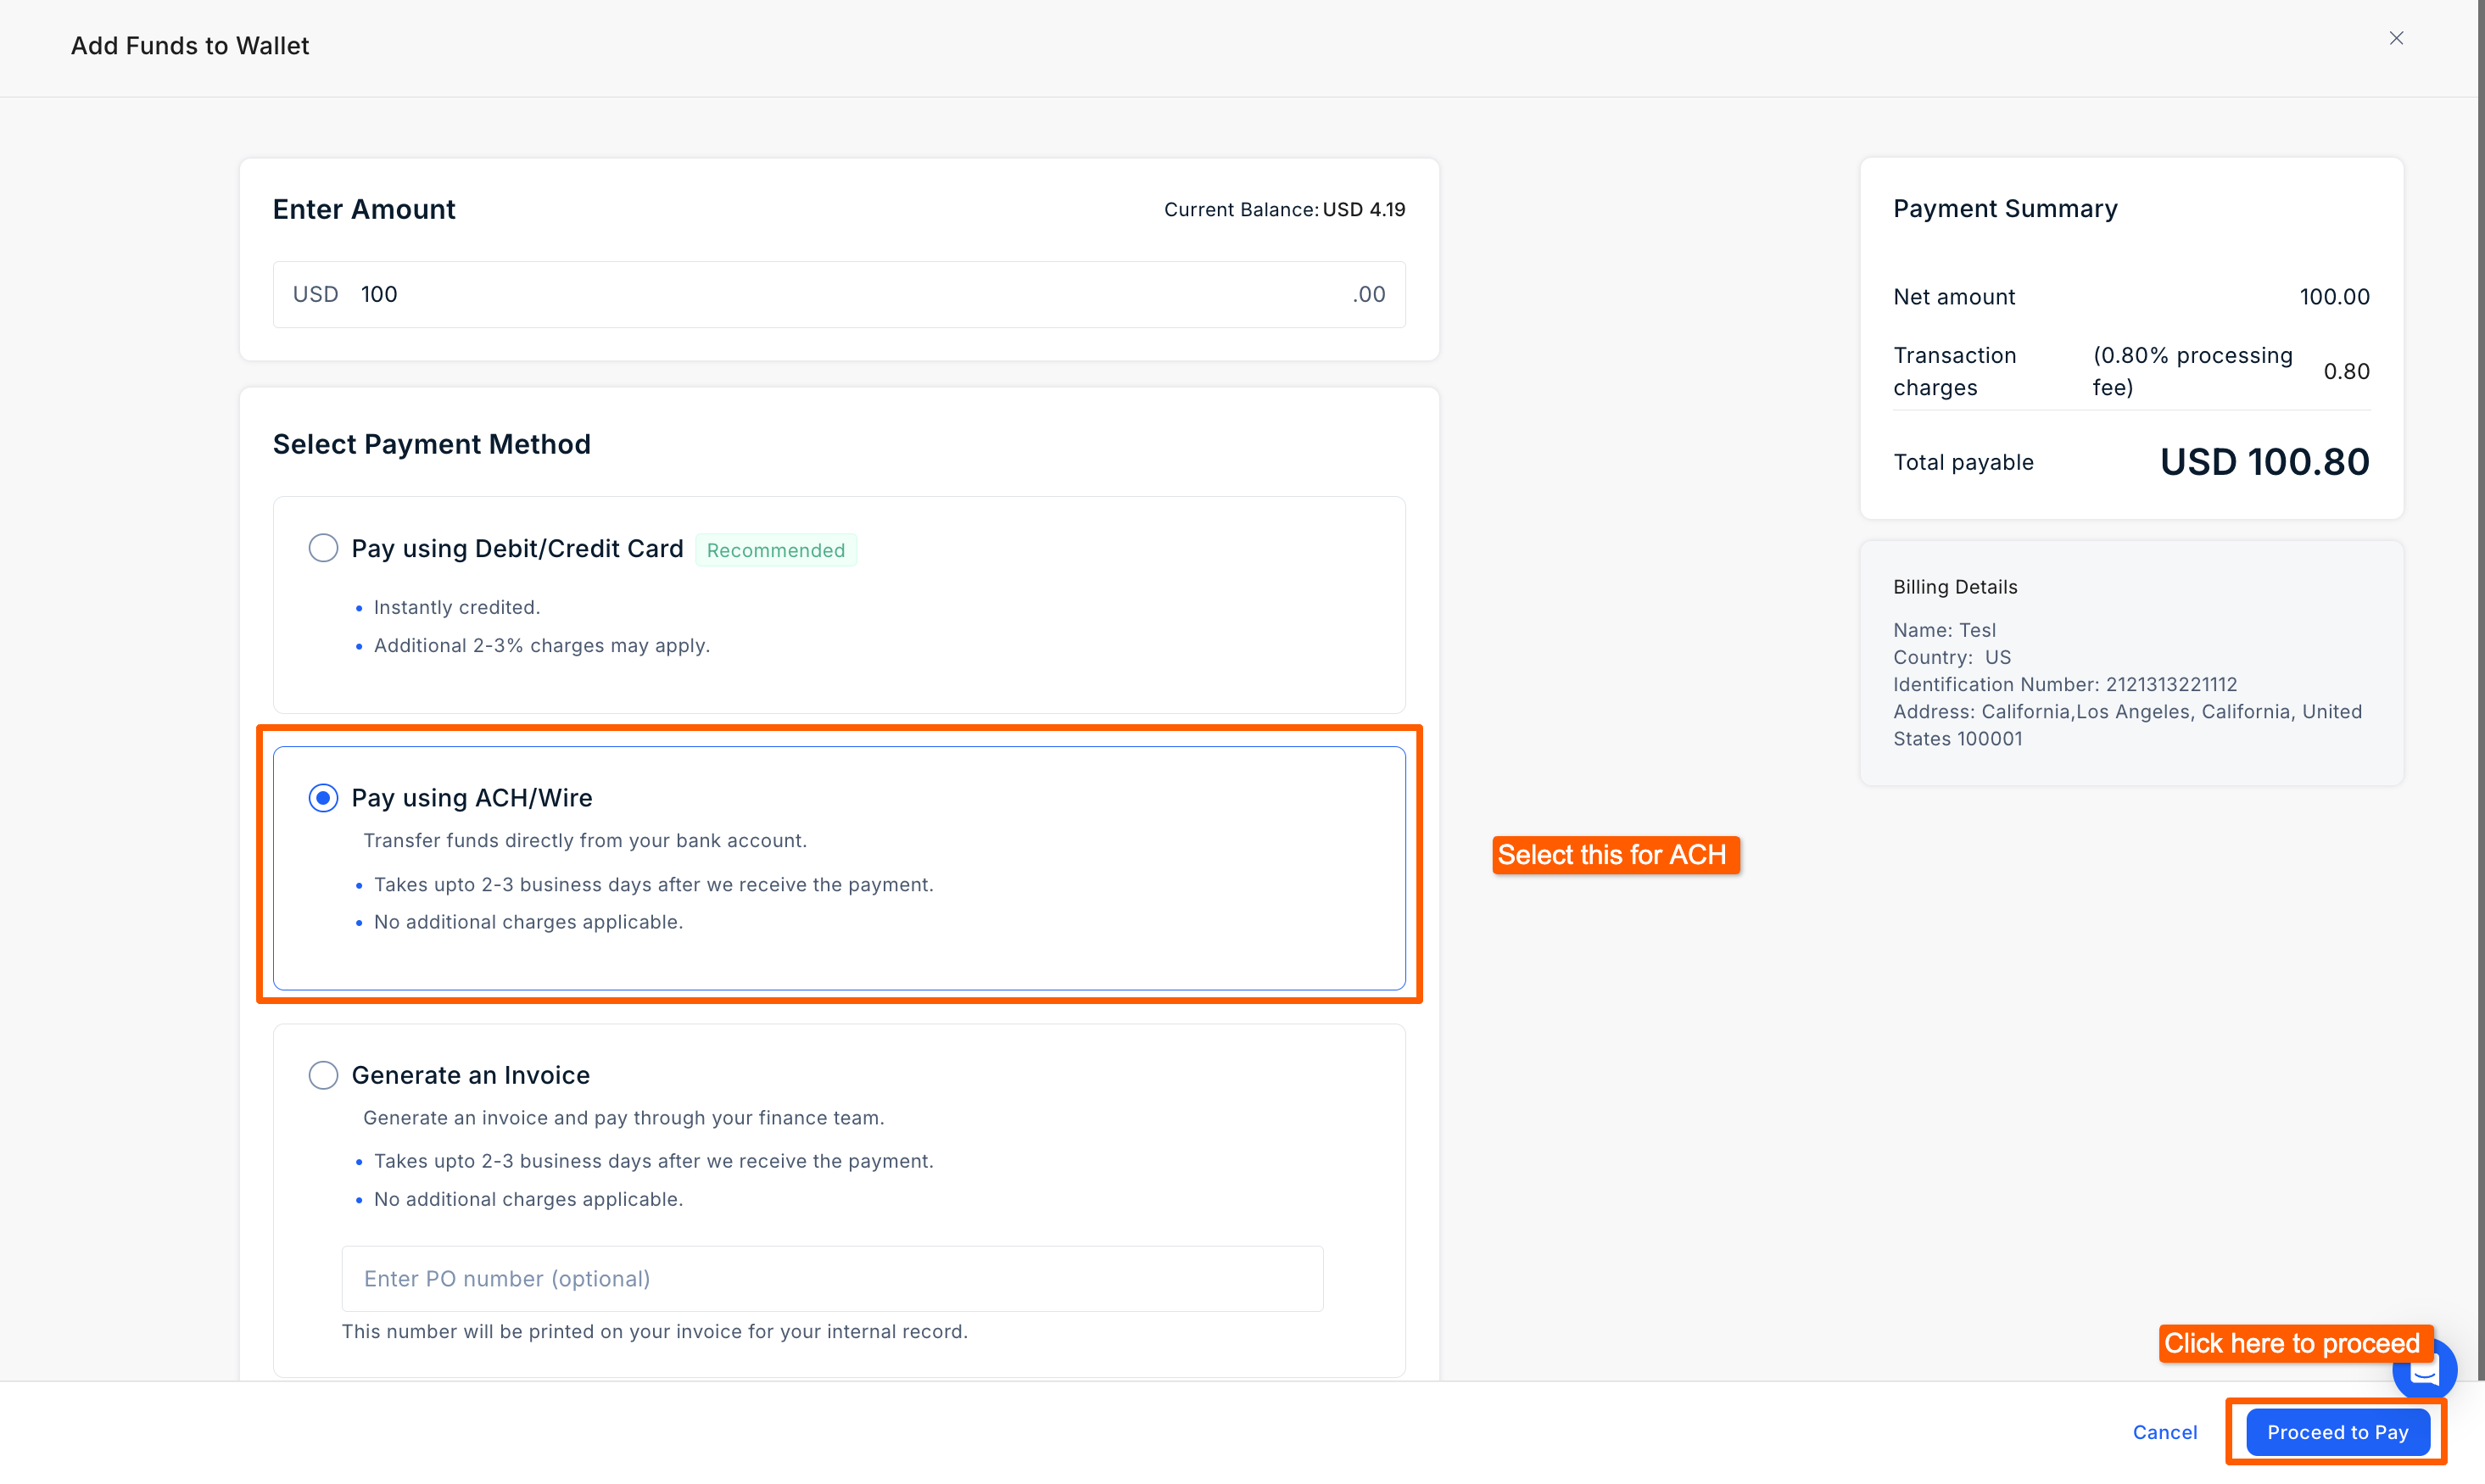
- To initiate the transaction, you can click on "Proceed to Pay:" and you will be redirected to the Stripe Checkout page Where you can proceed further by clicking on "Pay".
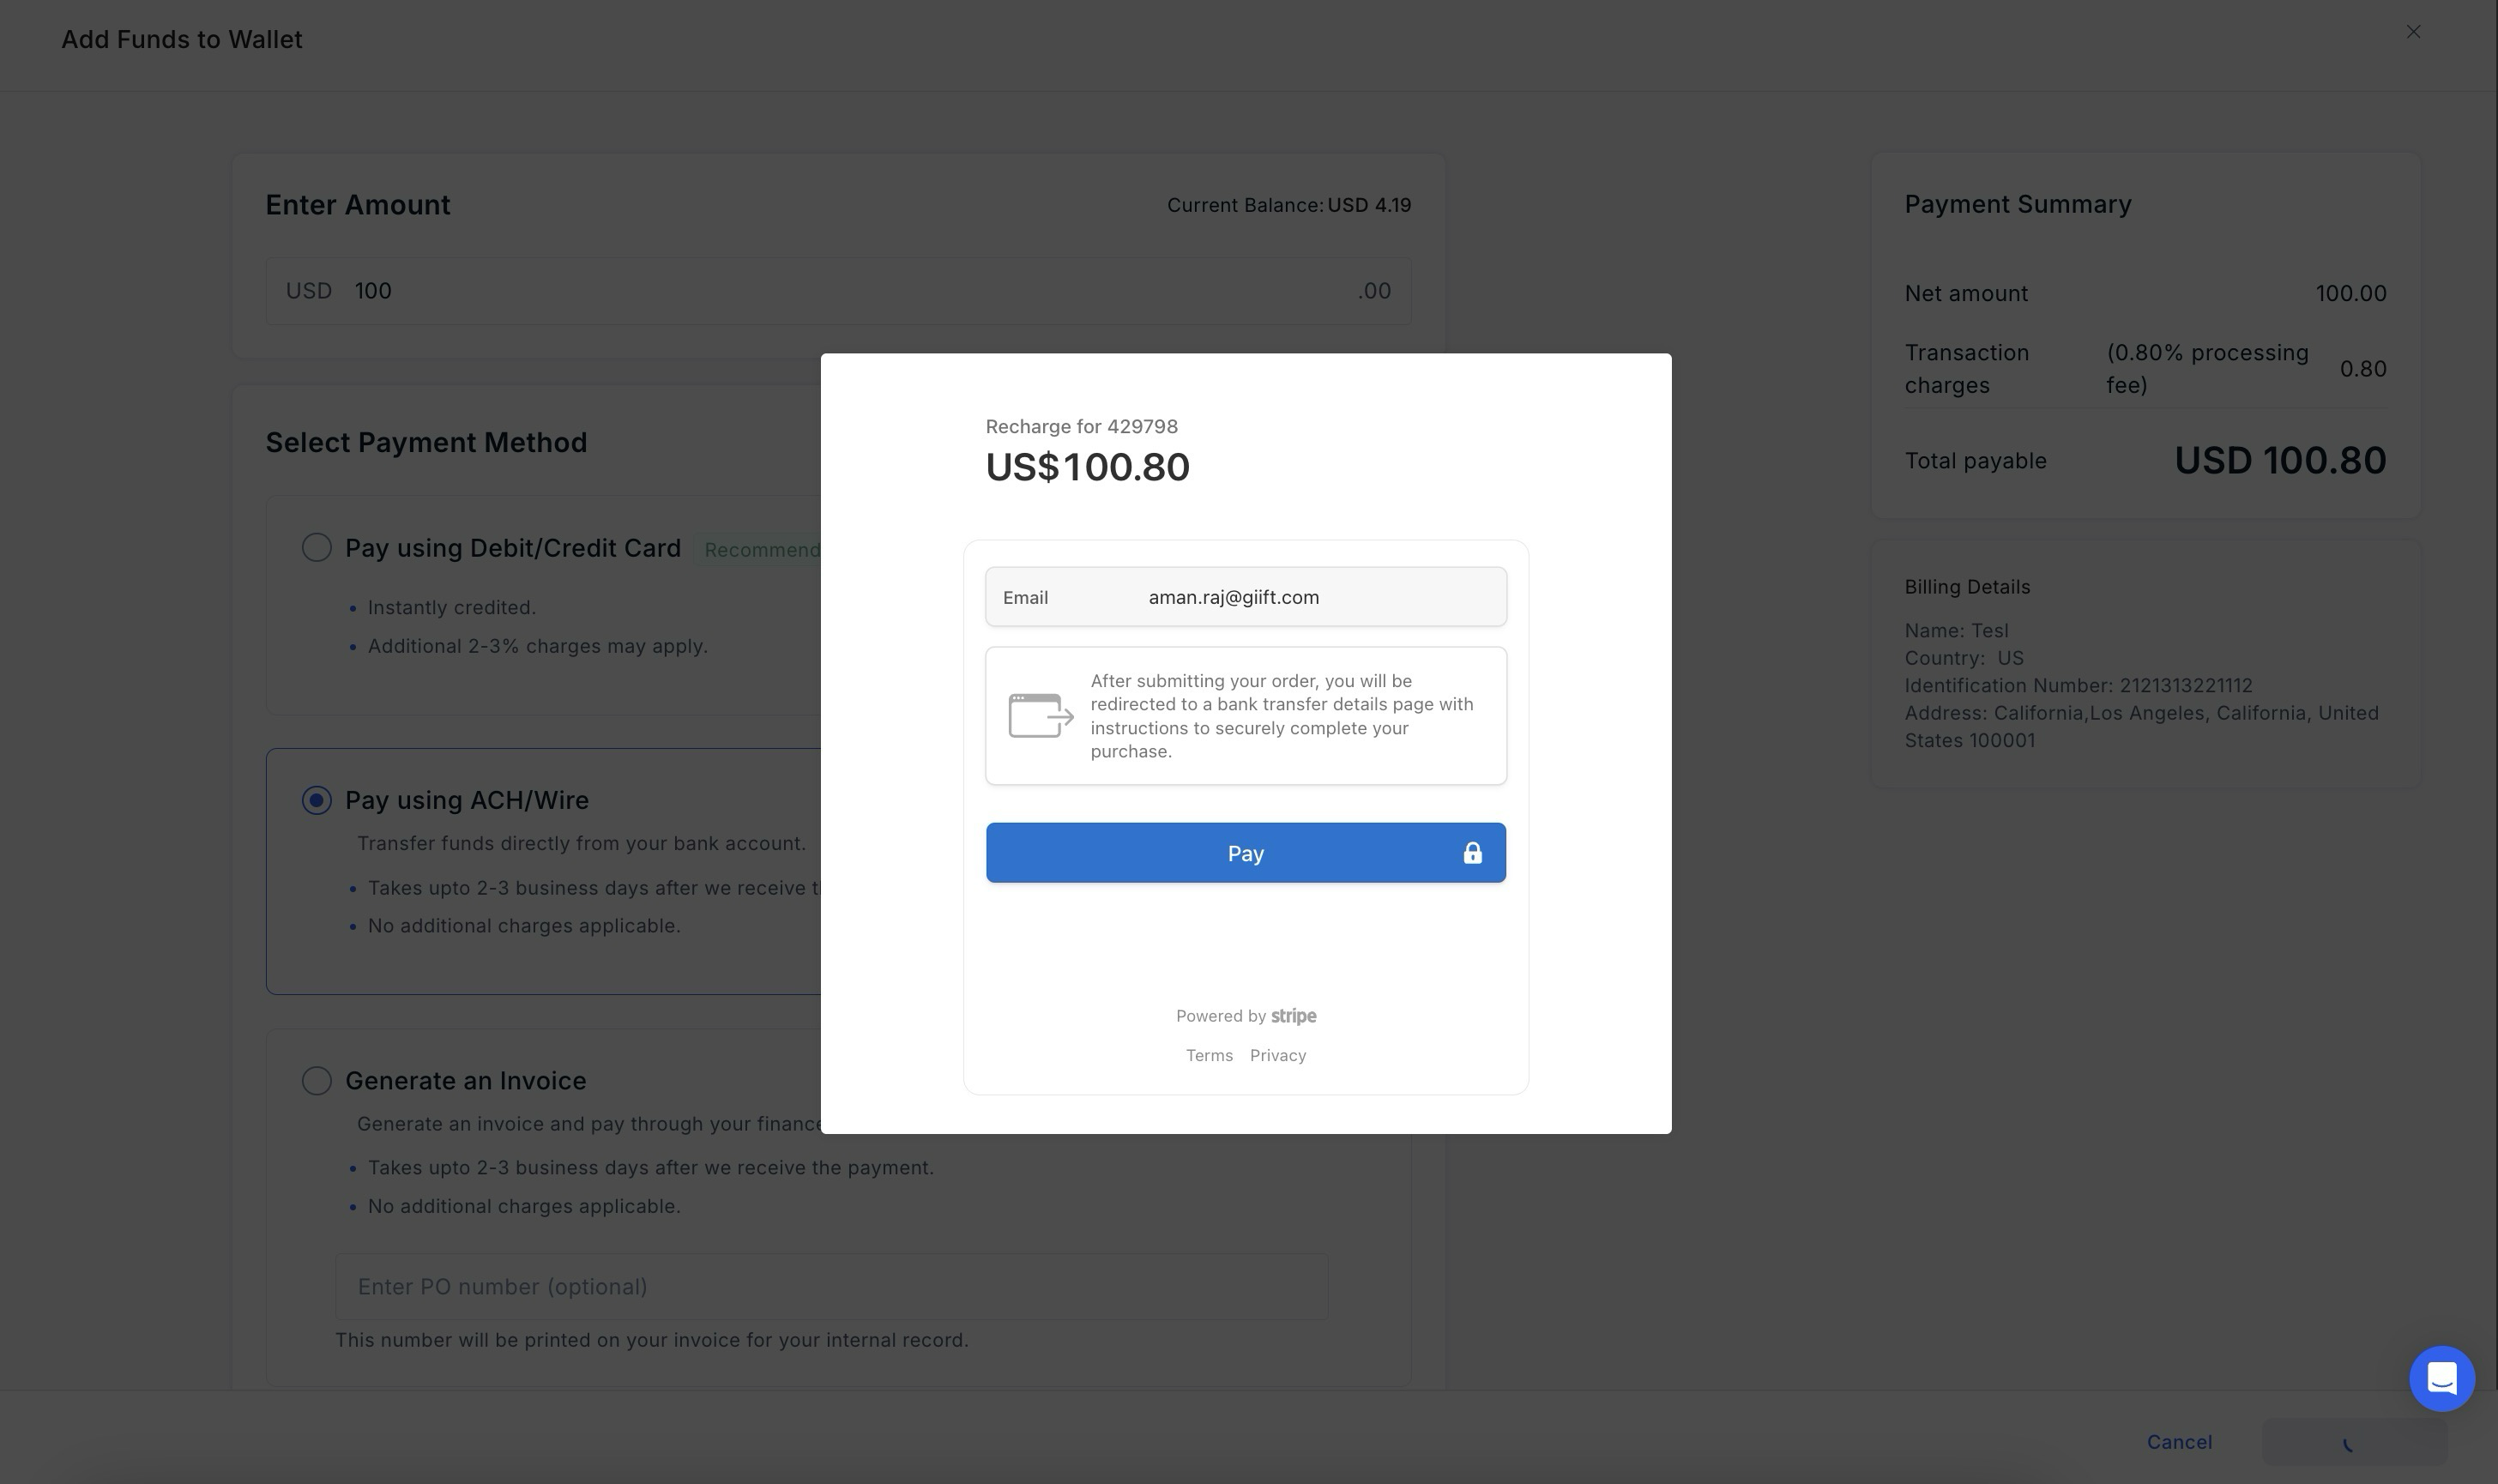
- After clicking on "Pay", you will see the virtual account number that you need to add as a beneficiary and initiate the ACH / Domestic Wire transaction of the requested amount.
- The transaction will take a standard 2-3 days for the funds to get reflected in your account.
Important note:
The amount transferred to the virtual account has to be of the same value as requested from the admin platform. Only then the transaction will be successful.
If the transferred value is not matching the requested amount then the amount will be reversed to your source bank account.
Create an Invoice
An invoice (or pre-payment invoice) is a great way if you want to get your finance team involved in making the payment. Here's how to do this:
- Log in to your Xoxoday Admin Account.
- Go to the “Add Funds” section.
- Input the desired amount in your base currency by selecting "Generate an Invoice" as a payment method and click "Generate Invoice" to proceed.
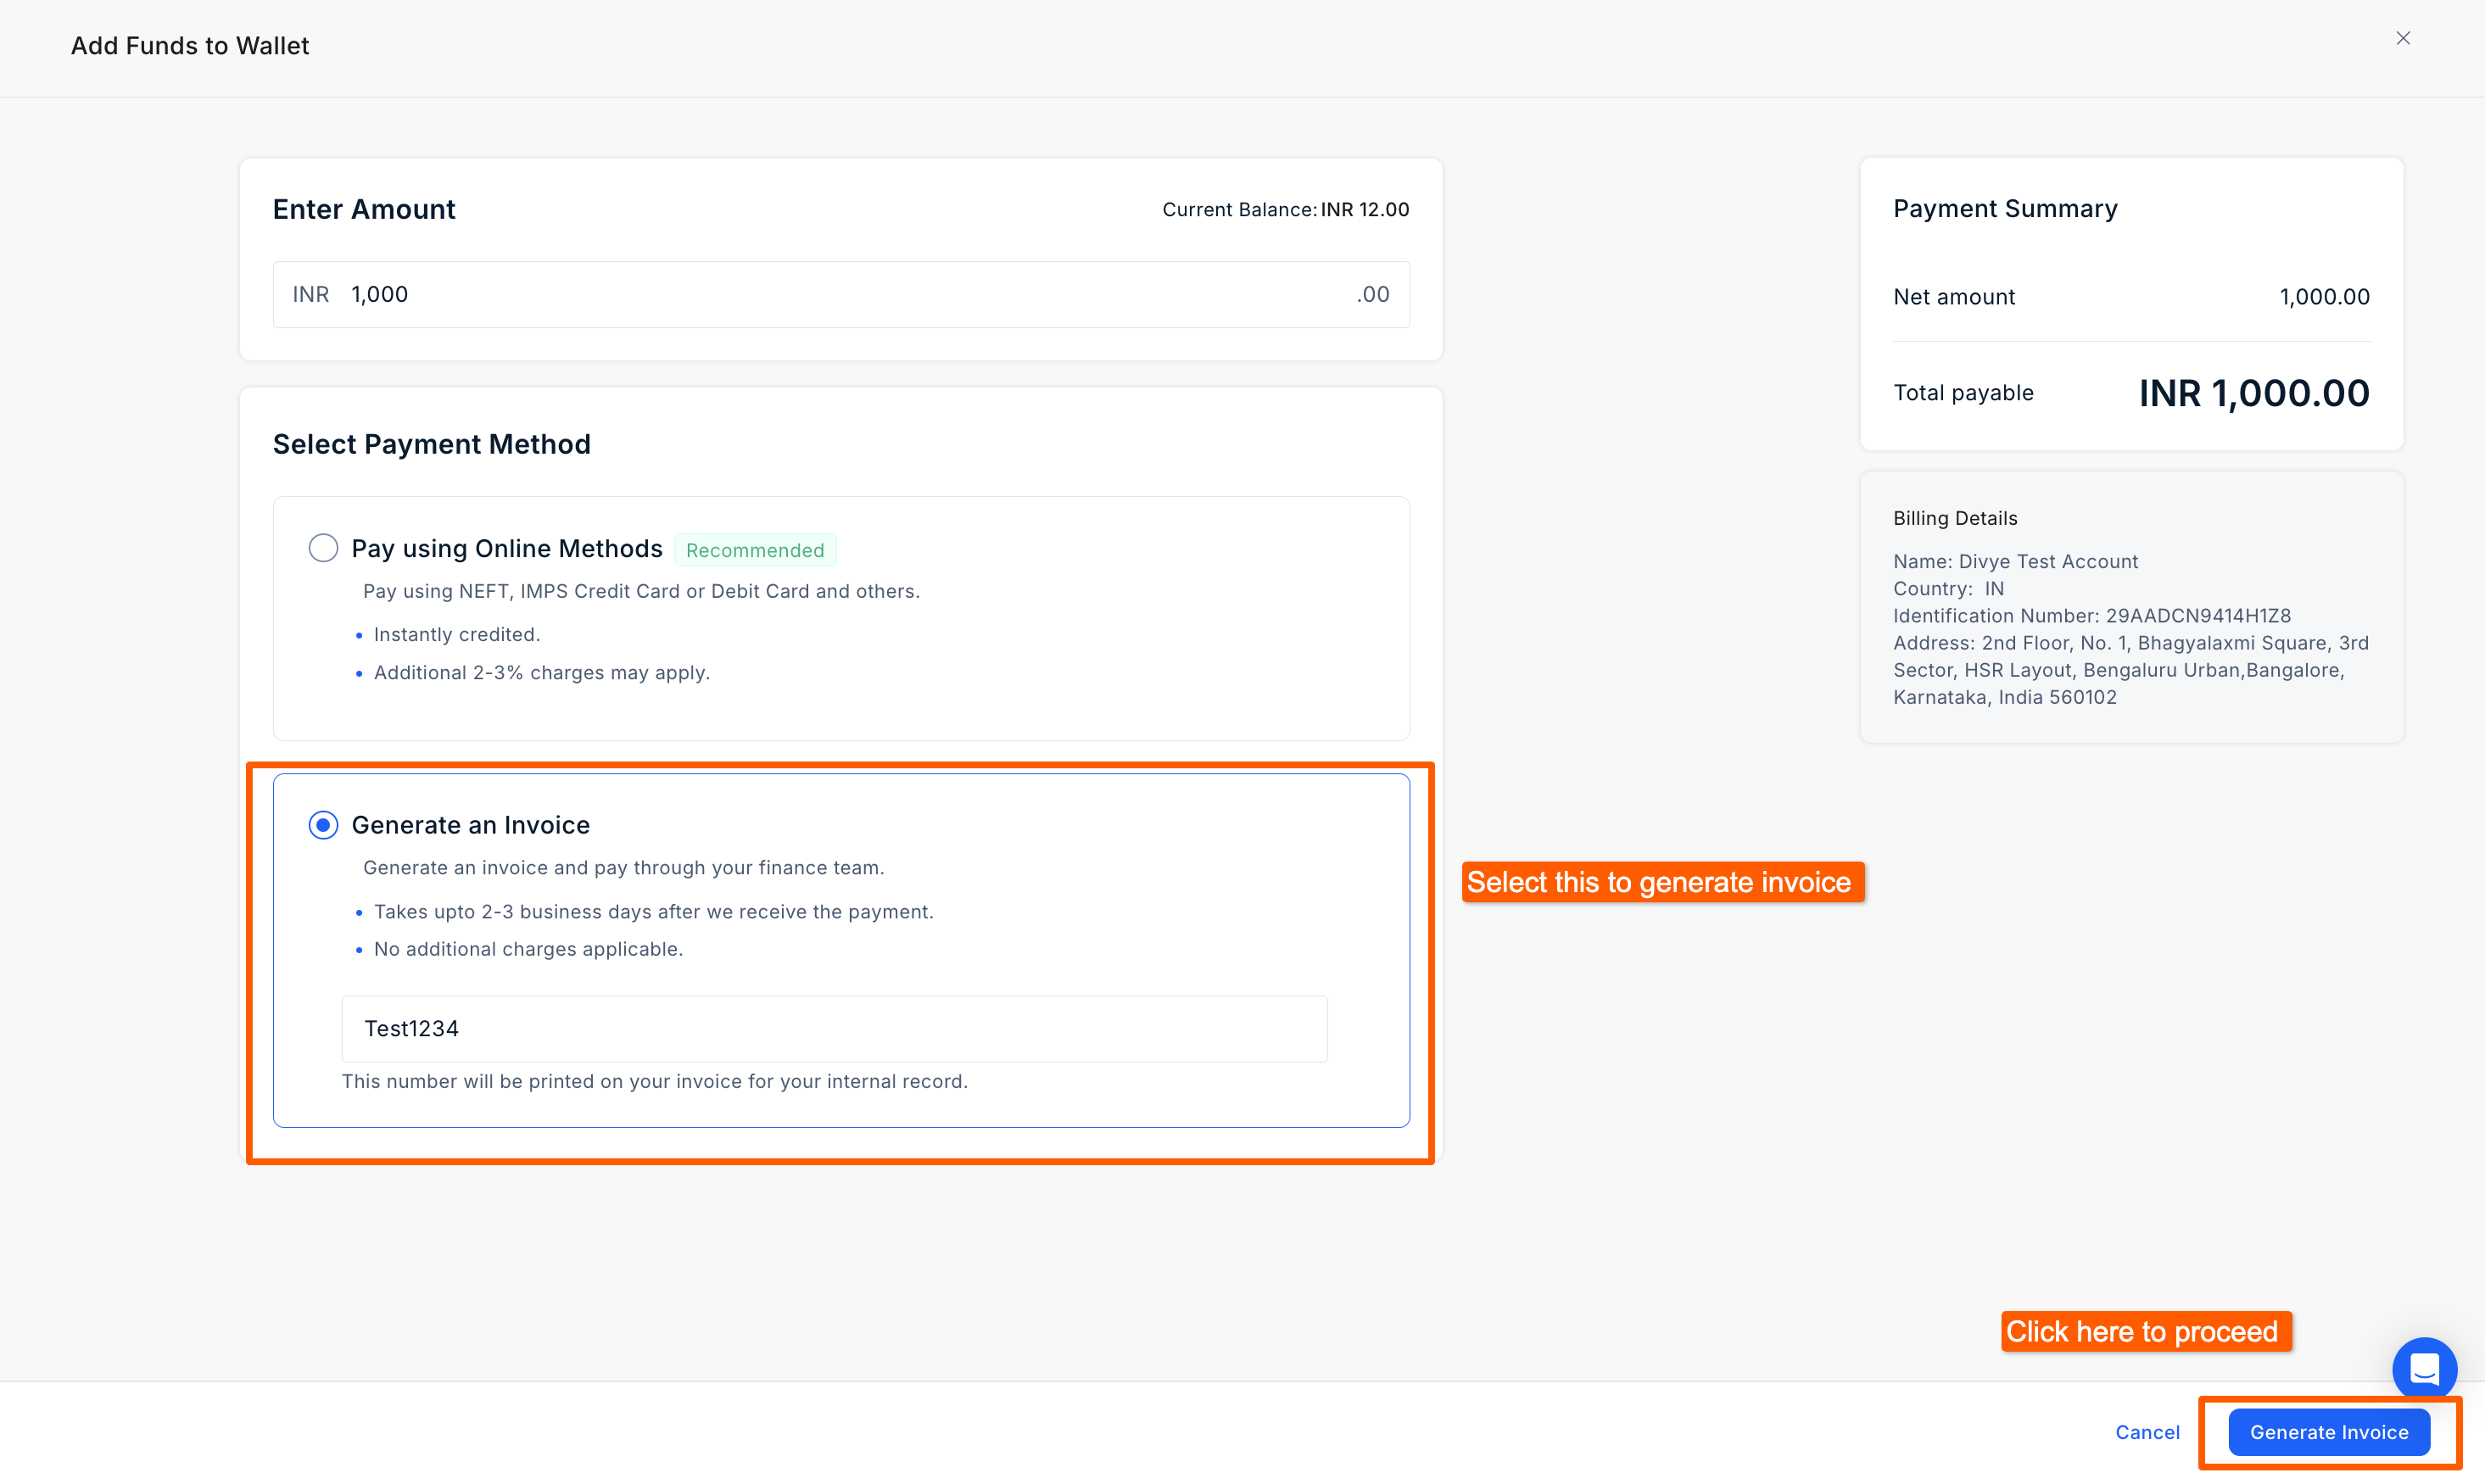
- That's it! The invoice will be sent to your email address.
- After the payment is made, share the details with [email protected] The finance team will verify the details and after the verification, the funds will be credited to your account.
Pro tip
- You can optionally enter a PO number at the time of generating the invoice.
- You can view the status in the reports section. It might take a couple of minutes to show up on the dashboard.
Updated 2 months ago
